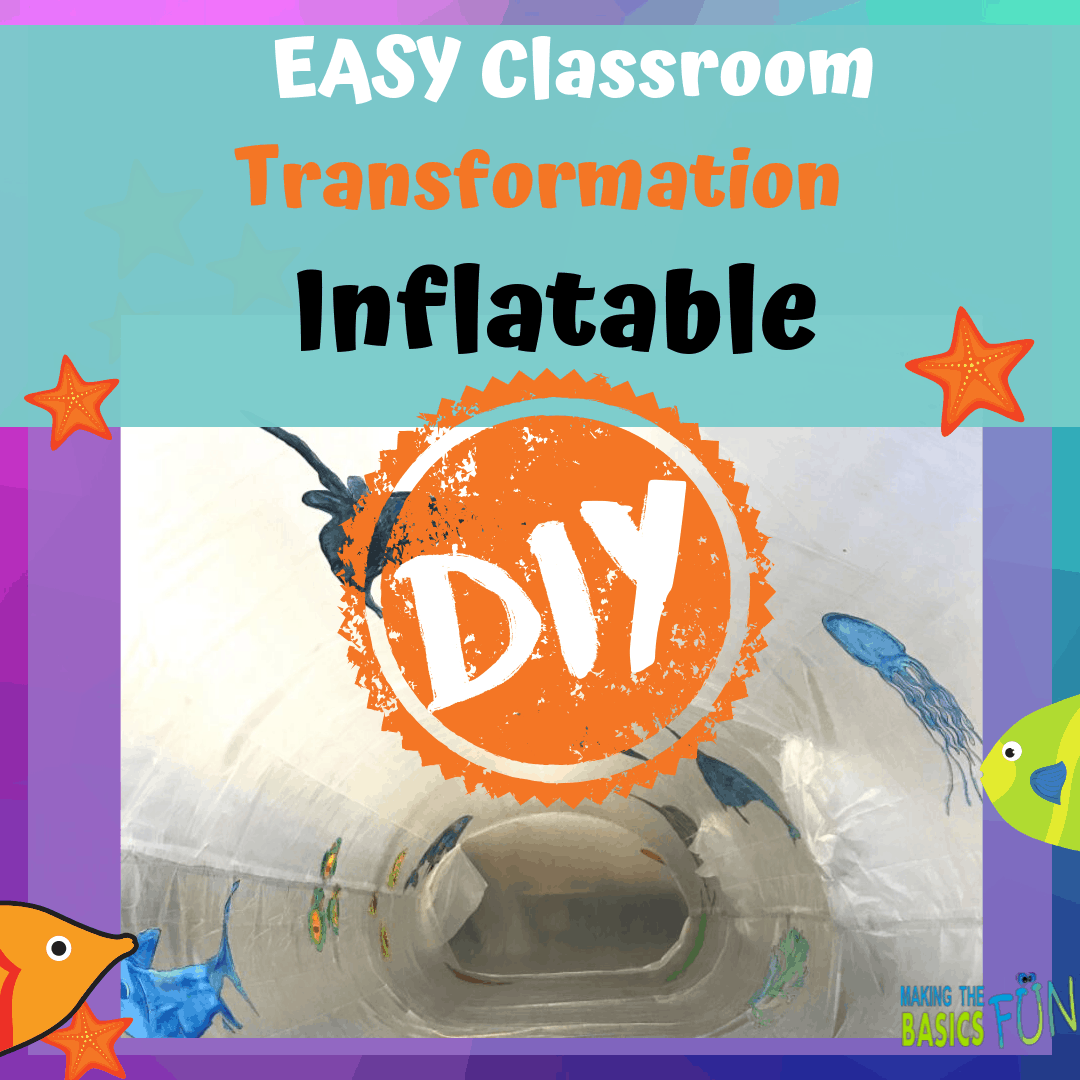
Easy Classroom Transformation Inflatable- Learn From My Mistakes
Ready To Build?
In the last post, I went through all the materials you need to make this easy classroom transformation a reality. Today we are on the second leg of our journey in building the classroom transformation inflatable tube. Oh man, this is going to be fun.
If the ocean inflatable were big, it would not be an issue. However, if I were making this for myself, I would probably make it so that I could set it up in my classroom. That way, I could set it up anytime and use it for extended amounts of time.
The one I constructed ended up being about 40 feet long and 5 ½ feet high. It’s big.
The Main Tube How-To
To make the main body of the tube, I rolled out 2 sheets of the plastic on top of each other. Each sheet was 10 x 25, the size of the plastic that I bought. (See the Picture Below)
Then I pulled the top piece off the long side just a bit until I could see about an inch of the bottom plastic. Then starting on one end, I used my 2.88-inch Gorilla tape and started taping. (See Picture Below)
Keep On Taping, Keep On Taping
Then I folded over the taped flap that I had created and taped that seam down. This made for a reinforced seam. (See Picture Below)
Same Song- Second Verse For The Other Side
Then I did the same exact thing to the other long side of the tube. I pulled the top piece of plastic away from the bottom until I could see about a 1inch of the bottom section of plastic. I taped the length all the way down, and then I folded the flap and tape again.
I had a big tube with no ends… What to do, what to do?
Don't Let The Ends Scare You
Here’s where I got inventive, and I really liked the results. Here’s how I did it.
To make an end piece, I cut a piece of plastic 5x 20 feet long and folded it, so it was 5×10. Then I taped the two sides together on the 10-foot sides. Check out this drawing on how I constructed the ends.
Taping The Ends
Then I taped the main tube to an end the same way I taped the main tube together. I did this by placing the end on top of the main tube and taping the bottom piece of the end to the top portion of the tube. I worked my way around the circle, fitting and tapping the parts together.
Then when the tube I inflated the tube (We’ll get to that part pretty quick… Just hang on), I went inside and reinforced all the seams with additional tape.
Build both ends in the same way.
Yah, But How Do I Get In?
Here’s a heads up. One of your ends is going to contain your door, but for now, you are not going to worry about that. Just go ahead and attach the ends to the main tube.
How Do You Inflate It?
Then I construct the air duct tubes so I could connect the fans to the main tube. I made 2 air ducts — one for each fan.
First, I determine the diameter of the fan and double it and add a few inches to allow for taping and ease of fitting around the fan. (example my fan was 23-inch diameter, so I doubled 23 and added 4 inches to get a width of 30 inches).
How Long Should The Air Ducts Be?
Second, I determine how long I wanted each duct to be. I made each of my ducts about 4 feet long so that there would be no chance of little hands reaching down the tube on the inside to touch the fan. I also wanted to make sure the duct would be long enough to reach the hole into the main tube when fully inflated.
Cut and Tape
After I determine how long the ducts were going to be, I added those two measurements together and added a little bit so I could attach the air duct tube to the fan and the main tube. In my case, it was 4 feet plus 4 feet (because I made 2 ducts) and another foot for attaching to the main tube and the fans. So I needed 9 feet in length. I cut a piece of plastic to the correct length and width. In my case 30 inches by 9 feet.
Next, I cut the piece of plastic and folded it in half and taped it like I taped the big tube. Now I had a long tube that was about 24ish inches in diameter and 9 feet long. I cut it in half to make 2 separate 4 ½ foot long tubes.
Make The Air Duct Safe
Now I needed to attach the air duct tube to the fan and the main tube. I decided to attach the air tube ABOVE the seam on the main tube. That way, I knew no little bodies would want to climb into the air duct when I inflated it. (Remember, I was a teacher for 25 years. I know how kids can be, and I’m here to tell you that if that duct was down low, they would definitely be climbing into it.)
Placing The Fans In The Right Spot
Now I needed to decide where I wanted the fans to be. I spaced mine out so that they would be at about ⅓ and ⅔ along the tube. I placed them both on the same side so I could hook them to a power strip at the same time.
Thinking About Placing Fans and Doors
You should be aware of which side you are going to want your door and which side you will want your fans. You can have them on the same side but remember your fans are probably going to be against a wall as that’s where the power supply is going to be. For that reason, I decided to place the door and the fans on the opposite side of each other. It will be easier to get in and out if your door is not right up against the wall.
What To Do (And Not Do) When Cutting The Air Duct Hole
I was now ready to attach the air duct tubes. With a sharpie, I made a big x on the main tube where the center of air hole was going to go. I made sure only to cut the layer of plastic that I wanted the air duct. I carefully snipped the x. Then I extended the cut on each arm of the x for about 6-8 inches. I made sure the x was a bit smaller than the circumference of the air tube. I taped the spot where I stopped the cut so that the plastic didn’t accidentally keep ripping. I then taped the flaps back and out of the way.
Here’s The Trick To Attaching The Air Duct To The Main Tube
Next, I placed the air tube I made in the previous step over the hole. I had someone help me hold the air duct over the hole so I could easily tape it down. Tip: After you inflate it go inside the tube and tape again from the inside so that it’s attached from the inside and the outside.
Then, I attach the tube to the fan by fitting it around the fan and taping it to the fan.
We’re almost there people. So close to victory.
Inflate It BUT Be Ready To Construct The Door
Turn on your attached fans and watch it inflate. It’s going to take 3-5 minutes, and you are going to discover a few holes here and there. (At least I did!!)
Where To Place The Door
As it inflates for the first time, make sure you are ready to decide where the door is going to be.
I used the seam where the end piece and the main tube came together. I double/triple taped where the end piece and the main tube came together.
I taped the end and main together like sutures when you get stitches. I did this at the top and the bottom of where I wanted the door so that it wouldn’t pull apart.
Then I cut top to bottom, between my tape sutures, on the seam, to make the door.
Then I jumped inside the tube and taped where the end and main tube came together, again and added more sutures.
Don’t worry that there’s a big gaping hole in your tube. You can use some clamps to make the hole smaller if too much air is rushing out.
We will make a usable door next.
Keep The Air In The Tube With This Door Flap Hack
I finished the door by making a flap that went on the inside of the tube.
I did this by cutting a piece of plastic a few inches taller than the door and about 5-6 feet wide.
I climbed in the tube and taped the piece of plastic along the top and down the side of the back of the door.
The tape job looked like an upside down capital L.
The plastic flap pushed against the slit I made for the door and helped prevent the air from rushing out. (Thanks to Tony Kloker, teacher friend and former boss for coming up with the door idea.)
You can use a little tape or clamp to help the flap stay in place on the inside of the tube.
It works really good, and I think it is an excellent solution to the problem of making a usable door.
Does It Deflate When The Door Is Open?
Another heads up: When the door opens, the tube will deflate a bit. Let your students know this so they don’t freak out. It stays 80% inflated even with the door wide open so it’s no big deal, but some of your more anxious students might need to know that it will deflate a bit and it’s okay.
Don’t Get It To Air Tight Or You’ll Be Sorry
Warning: You don’t want this to be too airtight. A little bit of a hole at the door is a good thing. It helps to relieve a little pressure inside the tube so that the seams don’t bust apart.
This Last Step Is Crucial -Don't Skip It
When you climb into the tube, you are going to notice that there’s way more pressure on those seams than you realized. I started to see some of the seams splitting so I went back over the seams on the inside with one more round of tape. Yep, it’s a lot of tape. And yep, I really think you are going to need it.
I also reinforced the spots where I taped the ends, and I taped the air ducts from the inside as well.
In summary, You are going to need more tape than you think.
Classroom Transformation Tube Accomplished
If you followed these steps, you’ve made your self a fantastic classroom transformation that is ready in minutes. Now comes the fun part of deciding what your tube will become. Will you do the ocean as I did or maybe a dinosaur land of long ago. Whatever you decide the next post about painting on your tube will come in handy. Use my experience to make this step easy and fun.