It’s summer. Time for sunshine, relaxation, and unbeknownst to the rest of the world, preparation for the next school year. You’re already planning and prepping for an even better school year than the one you just had. You want to plan some engaging events that will bring joy to learning. When you see those fantastic classroom transformations on social media, you think, “Wow, I’d love to be able to pull that off. How do they find the time?”
A very long time ago… about 30 years, (gulp) I was in my first year of teaching. I was fortunate enough to be in a team of 3 first grade teachers. I was the newbie, and the other two teachers were master teachers. They were amazing, and they made time to mentor me and pull me along as we progressed through the year.
Every year, first grade did a dinosaur unit. It was no ordinary unit. It was dinosaurs all day every day. Our days were filled with dinosaur books, activities, science, social studies, math, reading, phonics. These ladies were progressive, and I was a sponge watching and learning from their every move. They set up field trips to the Badlands of Northern Montana, and we hunted for and found fossils and dinosaur bones and teeth. They also made a tube. (Whaaaat? A tube… “What you talkin’ bout?)
At the end of the unit, we had a Dinosaur Symposium where the students sang songs about the Mesozoic Era, showed off all their craftivities, writings, books, etc. To top it all off, students were able to travel back in time via the dinosaur tube. It was made of heavy plastic, inflated with box fans and painted with dinosaurs from each period of the Mesozoic Era on the sides. All the students in the school got to experience the dinosaur tube. It was an event that everyone looked forward to year after year.
Making The Old New
After I reflected on my first year of teaching and that dinosaur tube, I began thinking about an extraordinary group of ladies that I have the pleasure of knowing. I wondered how I could bring something unique to their classrooms?
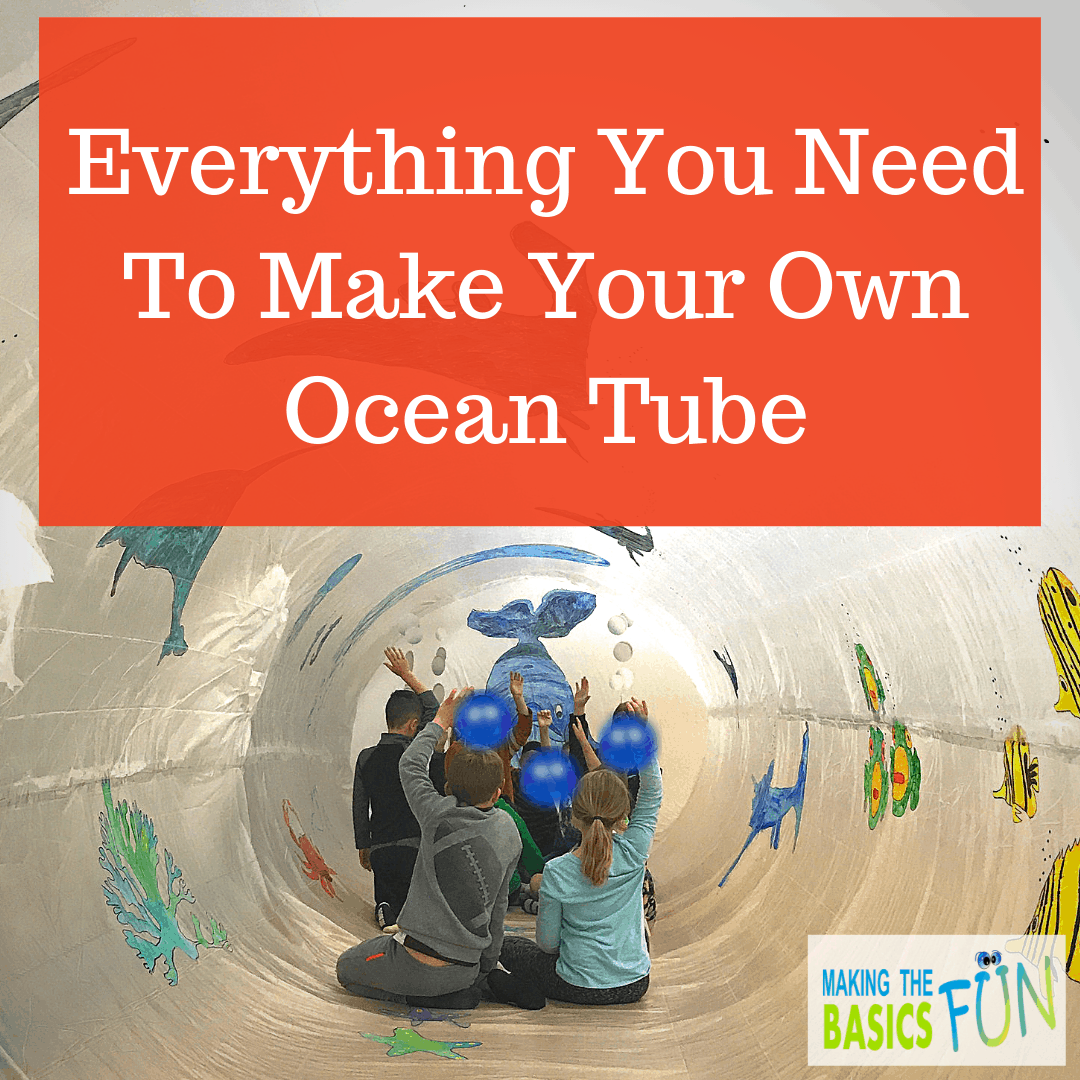
I knew that my current amazing first-grade teacher friends would be doing an ocean unit in the spring. I asked if I could make a tube like the one I’d been in 30 years before. This one would feel like an aquarium that you could walk through.
They gave me the thumbs up, and I began my journey of designing and constructing the ocean tube.
Lesson Learned -Materials I’d Use And Wouldn’t Use Again
To help anyone who would like to construct something similar, I’m doing a series of posts on how I made this Classroom Transformation Ocean Tube Inflatable. I’m sure the creative and innovative teachers of the world will take this and make improvements. If you do have suggestions, please post them in the comments so others can learn. To see the first post in the series click here.
If you want a quick look at the materials, go to the RESOURCE PAGE to see the supplies you need.
Don’t Use The Wrong Plastic
Let’s start with the plastic that makes up the tube.
The plastic has to be “strong” plastic. By strong, I mean durable enough to NOT rip when people are walking around in it. The lightweight plastic is too flimsy. The 4 and 6 ml weights work great. It’s heavy duty enough to be strong but light enough to inflate quickly. This weight also makes it easy to fold up and store when the inflatable is not in use.
Clear Is A Relevant Term Check for “clear” Plastic
The word “clear” is a bit misleading. I went to the local hardware store and bought a 20×25 piece of 4ml plastic. I thought that if I could fold it in half and tape the seam to make the tube. But, when I unfolded it, I found that “clear” really meant opaque.
I wanted it as clear as possible because I wanted the ocean scene, that I planned on painting on the outside of the tube to be seen as clearly and brilliantly as possible. I was afraid that it was so opaque that the paint would be fuzzy when viewed from inside the tube. So I went back to the store and got 2 packages of the 6ml 10×25 clear plastic sheeting. For some reason, “clear” in the 6 ml was “clearer” than the 4ml.
You Be The Judge
If you look at the picture, you can see the difference between the two types of plastic. The ends are the 4ml very opaque plastic, and the tube itself is of the 6ml “clear” which honestly is a little bit clear but also a bit cloudy.
In hindsight, I do like the 6ml “clear” plastic, and I would use it again if only for its strength and durability. Honestly, the paint was visible with both, and it didn’t seem to matter too much on how the color showed up on the inside of the tube.
How Much Plastic Are You Going To Need For This Bad Boy?
Think about how big you want your inflatable to be. I let the length be determined by how long the pieces of plastic were. To start with I got two rolls of 6ml clear 10ft x 25 ft plastic. I also got another 20×25 piece that I cut for the ends and other parts of the tube.
Each end was about 10 feet, and the main tube was 25 feet. By the time it was done, it was around 40-45 feet long.
Get the Right Tape…Or Don’t and Regret It
I have one recommendation on tape. Use the Crystal Clear Gorilla Tape 1.88 x 27 feet. This stuff is amazing. It’s like if packing tape and duct tape got married and had a baby. Its heavy duty, easy to tear, flexible, and they say it won’t yellow over time. Yep, it’s a little pricey, but I figure if this tube lasts for 5-8 years, it will be worth it. I also used some “clear” duct tape, and I HATED it. It’s hard to get off the roll. It’s also hard to tear, and I don’t think it stuck as well to the plastic. Plus, we all know that “clear” duct tape is clear with a lot of thread-like fibers in it which are totally visible. My vote is for Crystal Clear Gorilla Tape. (Go to my resource page to see this and other materials for this project)
To figure out how much tape you are going to need, measure the length of each seam (where two pieces of plastic come together) and multiply by 3. Why 3? You will find out in the next post on how to build your own classroom transformation inflatable.
You think this is overkill on the tape but I’m here to tell you that with the two fans going and putting a door on (which I will explain how to do the door in the next post) this bugger, it’s going to blow up like a balloon and the seams are going to feel some heavy pressure.
Let’s Get It Inflated… Fast
How are you going to inflate this classroom transformation inflatable? Keep reading.
You should know this about me… I can’t draw. I have had students fall on the ground in fits of laughter after seeing my attempts at drawing. I’m getting better but Picasso I am not. So when you have a skill deficit, you find a way to compensate for your inadequacies. Thank goodness for projectors.
I found traceable images online and used a projector to trace the pictures. I used the biggest black sharpie I could find because I wanted the outlines and details to be as bold and thick as possible. I tried to create lines as I’d find them in a coloring book- big and bold.
Perfect Paint
Now it’s time to make it come alive. I used the acrylic paint that can be used for “indoor/outdoor” use. Check out the picture below to see the selection.
Magically Turn Regular Acrylic into Outdoor Acrylic Paint
Some of the paint that I wanted was not the indoor/outdoor kind, so I put a little of this into it. (see the picture below) It’s supposed to make it more “pliable.” I could tell a difference in the paint. The indoor/outdoor was “runnier,” and the regular acrylic was thick until I put the additive into it.
It’s the Ocean Go For Bright Colors
For the ocean theme, I think that bright tropical colors are best. I bought a few different colors of blues and greens and a few different shades of red, yellow and oranges. Protect your paint by spraying on a sealer.
I Was Terrified To Paint Until…
As I said before – I’m no artist. So painting on a big piece of plastic is way, way, way out of my comfort zone. But here’s the trick. When you have a bunch of different shades of the same color, and you mix them while you paint on the plastic, it looks terrific. More on how I did this in the next post. (I can’t wait to tell you all my tips and tricks… If I can do it, YOU can totally do this.)
Getting all of these materials together is no big job with a supply list. Lucky for you I’ve made one for you. Just click on this link and fill in your info. Then I will send the list right to your inbox. I will also send you the complete directions to your box as soon as they are neat and complete.
There are few tips and tricks when selecting the materials to construct a Classroom Transformation Inflatable. Get the right weight plastic, tape, and paint and you are on your way to constructing this amazing experience for your students.